In Buffalo, where laundry season feels like it never really ends, a dryer vent cleaning tool is one of the cheapest pieces of prevention gear you can own. I spent 10 years handling property claims, and I saw the same pattern over and over: a dryer that took longer and longer, a vent packed with lint like wet felt, then heat damage, smoke, or a machine that quit altogether. If your towels need a second cycle or the laundry room smells hot after a load, that is not just annoying. It is a warning that the air is not moving the way it should.
Why the vent matters more than the lint screen
The lint screen is there to catch the big stuff, but it is not the whole system. The vent line is what carries heat, moisture, and fine lint outside. When that line is blocked, the dryer runs hotter, the drum works harder, and the whole appliance ages faster. In my claim files, the ugly jobs usually started with a vent that was partly crushed behind the machine, full of buildup at an elbow, or clogged at the exterior hood with a flap that barely opened.
The safety issue is simple. Dry lint burns easily, and a restricted vent gives that lint more heat than it should ever see. I have also seen moisture get pushed back into a laundry room, which means musty odors, peeling paint, and sometimes mold on the wall behind the dryer. If you have a gas dryer, venting matters even more because the exhaust has to leave the house cleanly. A clean vent is not a luxury. It is basic maintenance that protects the appliance, the room, and the house.
What I want in a kit, and what I skip
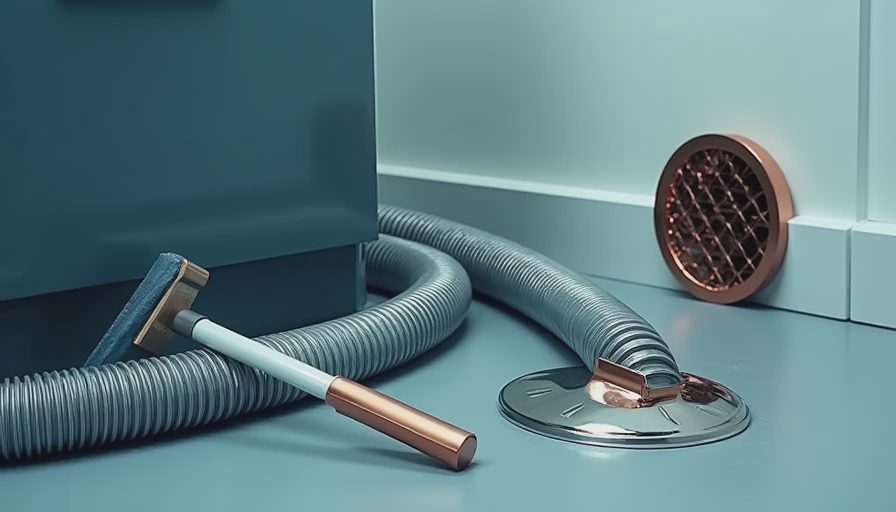
A dryer vent cleaning tool is not the same thing as the tiny brush people use on the lint trap. The one I like has long flexible rods or a whip-style brush that can reach the full length of the vent run. For a short, straight wall vent, a simple $15 to $40 kit is often enough. For a longer run, or one with a couple of bends, I prefer a drill-powered brush kit from a known brand such as Gardus LintEater or a similar model sold by Holikme. Those kits are not magic, but they move enough lint to make a real difference.
I skip anything flimsy that bends on the first elbow and anything that only cleans the first two feet behind the dryer. That is usually where the lint screen ends up dumping some of the debris, but the restriction I care about is farther down the line. I also skip anything that feels like a gimmick, because this is one of those jobs where simple and sturdy beats clever every time. If the vent path is short and accessible, the right kit is cheaper than a service call. If the path is complicated, the kit is still useful, but it may not be the whole answer.
How I clean it in a real house
I start by unplugging the dryer, or shutting off the gas if it is a gas model, and pulling the machine out far enough to work without crushing the hose. If the transition hose is white vinyl, I replace it. That material is not what I want in a laundry room. A semi-rigid or rigid metal connection is the better choice because it handles heat and resists sagging. I then vacuum behind the dryer, around the floor, and at the opening where the duct begins, because lint loves to hide in the dust pile nobody sees.
After that, I clean the vent from the side that gives me the clearest path. Sometimes that is from the outside hood. Sometimes it is from inside the house. I work slowly, especially near elbows, so I do not shove lint into a harder clog. If the exterior hood has a screen, I remove it. Screens trap lint and create the same problem you were trying to solve. When I am done, I make sure the flap opens freely, reconnect everything with foil tape, and run the dryer on air fluff to confirm strong airflow outside.
When the job is bigger than the kit
A dryer vent cleaning tool is great for routine maintenance, but there are plenty of jobs it should not pretend to solve. If your vent exits through the roof, snakes through finished walls, has three or four bends, or disappears into a part of the house you cannot reasonably inspect, the odds of a missed clog go up fast. The same is true if the dryer keeps overheating after you clean it, or if the outside hood still barely moves air. That is when I want a pro with a rotary brush, a camera, and the patience to trace the full run.
Older houses can be especially annoying here. I have seen basement laundry rooms where the duct took a path that looked fine on paper and awful in real life. One sharp kink behind the machine can undo everything. If the vent is damaged, crushed, or buried behind a cabinet wall, the fix is usually not more brushing. It is rerouting the duct so the dryer can breathe. That is the kind of repair that saves you from doing the same chore every few months and never really winning.

The cost comparison that usually settles the argument
Most people hesitate because they do not want another tool in the basement. I get that. But the math is not dramatic. A decent brush kit might cost about $25. A professional dryer vent cleaning visit often lands somewhere around $100 to $200, and tricky runs can cost more. That is still a lot cheaper than a burned-out heating element, a dryer repair bill, or a smoke cleanup job that turns a simple laundry corner into a weeklong mess.
From an insurance standpoint, I care about what happens after the failure. Even when a policy helps with a fire loss, the deductible still comes out of your pocket, and the disruption is the real punishment. Clothing gets smoked, walls need cleaning, and the room may smell wrong for months. I have walked through enough of those claims to know that a little maintenance beats a big apology every time. The cheapest solution is usually the one that keeps the machine from overheating in the first place.
A simple maintenance routine for a laundry room you can live with
If I were setting up a practical laundry room today, I would keep a dryer vent cleaning tool, a flashlight, foil tape, and a spare semi-rigid transition hose together in one bin. I would also check the outside hood twice a year, especially after fall leaves and after winter storms, because both can mess with airflow. If you already have a clean vent, great. Keep it that way. If you do not, start with the brush before the problem turns into a claim file.
That is the part I keep coming back to in older houses: the room you ignore is the room that gets you. A room you hate to be in is a room you'll never take care of. Make the cleanup fast, make the path clear, and the dryer will usually reward you with shorter cycles, less heat, and a lot less drama.