Laundry room dimensions are not just a design detail. They determine whether you can open the washer door, reach a shutoff valve, clean dryer lint, or pull a leaking machine away from the wall before water reaches the flooring. After inspecting more than 3,000 water-damage claims, I have learned that cramped access turns small appliance problems into expensive repairs. A room you hate to be in is a room you'll never take care of.
Start with the machines, not the cabinets
A standard full-size front-load washer is roughly 27 inches wide, 30 to 34 inches deep, and 38 to 40 inches high. A matching dryer is usually similar in width and depth. Top-load washers can be shallower, but they need enough overhead clearance for the lid to open fully. Those measurements are the starting point, not the finished laundry room dimensions.
For side-by-side appliances, plan for at least 60 inches of wall width, then add room for hoses, electrical connections, and trim. I prefer 66 to 72 inches when the floor plan allows it. That extra space makes installation easier and gives a technician somewhere to work. If the units sit between two walls, avoid creating a perfect machine-width slot. A 62-inch opening can become a wrestling match after drywall, baseboards, and vibration pads take their share.
Depth deserves equal attention. Machines may project 30 to 34 inches from the wall, while supply valves and a dryer vent can add several inches. Allow about 40 inches of total depth for a comfortable installation, especially with a rear-vented dryer. A shallow closet may technically fit the appliances but leave the doors, controls, and connections inaccessible.
The clearance that makes maintenance possible
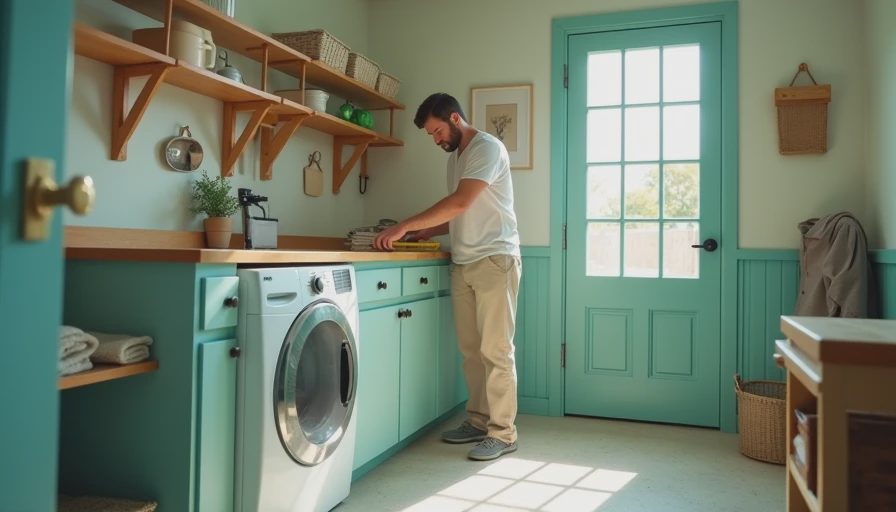
Good laundry room dimensions include a clear working aisle. For one person to load, unload, and move a basket comfortably, allow at least 36 inches in front of the machines. Forty-two inches feels much better, particularly in a family laundry room where someone may be carrying a full hamper. If the washer and dryer face a counter, shelves, or another wall, measure from the deepest obstruction, not from the baseboard.
A stacked washer and dryer save floor space, but they do not eliminate access requirements. A typical stacked pair needs roughly 30 inches of width and 34 inches of depth, plus the manufacturer’s required clearance. Leave enough room to remove the lower filter, service the drain pump, and reach the water shutoffs. A stacked unit squeezed beside a furnace or water heater can create a service problem that nobody notices until a repair bill arrives.
Doors also change the usable space. A swinging door that opens into the laundry area can steal most of the aisle. A pocket door or outward-swinging door usually works better, provided it does not block a basement stairway or another required exit. For a closet installation, bifold or sliding doors can work, but they should open wide enough to expose both machines and the connections behind them.
Build water protection into the layout
The most useful laundry room dimensions leave access around the water supply and drain. Put the washer supply box where a hand can reach it without moving the machine. A recessed box with clearly labeled hot, cold, and drain connections keeps hoses from kinking. I recommend braided stainless-steel hoses rather than old rubber hoses, and I replace them when they show rust, bulges, or damaged fittings.
A drain pan can catch a slow leak, but it is not a substitute for a proper drain connection or leak detector. In a second-floor laundry room, a pan piped to a suitable drain is especially valuable. A sensor with an automatic shutoff can cost around $50 to $200, while a hidden supply-line failure can damage ceilings, flooring, cabinets, and personal property. I have seen claims where the machine itself was fine; the real problem was a loose hose connection behind it.
Use water-resistant flooring such as sheet vinyl, luxury vinyl plank rated for wet areas, tile, or properly sealed concrete. Run the finished floor beneath the appliances instead of stopping it at the front legs. Keep cardboard boxes, spare linens, and paper products off the floor. If a utility sink is part of the plan, leave enough landing space beside it for a wet basket and avoid placing electrical outlets where splashing is likely.

Dryer ventilation and fire-safe clearances
Laundry room dimensions must account for the dryer vent, not merely the dryer cabinet. A short, smooth, properly terminated metal duct is easier to clean and less restrictive than a long run with bends. Follow the dryer manufacturer’s instructions and local code requirements for maximum length, materials, and termination. Do not hide a crushed flexible plastic duct behind the machine; it traps lint and can overheat.
Give the dryer enough rear clearance to keep the vent from being pinched. An offset connection or recessed vent box can recover several inches, but it should be installed correctly. The exterior termination needs a functioning flap and should be accessible for inspection. Clean the lint screen after every load, vacuum the screen housing periodically, and have the duct cleaned when lint accumulates or drying times increase.
The room also needs makeup air and reasonable ventilation. A gas dryer requires combustion air and must be installed according to its instructions and applicable code. Never use the laundry room as a storage closet for paint, gasoline, propane cylinders, or oily rags. Heat, lint, and combustible clutter are a bad combination even when the machines are working normally.
Storage without sacrificing working room
Many homeowners use a 24-inch-deep countertop above side-by-side machines. That can be useful for folding, but make sure the counter does not prevent detergent drawers from opening or block access to the washer lid. A 12- to 16-inch-deep shelf is often enough for detergent, stain remover, and a small basket while preserving aisle space.
Tall cabinets can hold bulk supplies, but anchor them securely and keep heavy containers low. Wall-mounted drying racks are practical in a narrow room, though they should fold away from the main path. Leave a clear spot for a hamper, because a beautiful room with nowhere to place dirty clothes becomes a floor-level pile within a week.
In my own 1947 Buffalo colonial, the basement laundry started as two machines shoved beside unfinished studs. We kept the plumbing accessible, installed a moisture-resistant floor, improved the vent route, and added a narrow folding surface rather than forcing in oversized cabinets. The result cost less than a full custom build and is far easier to inspect.
A practical measurement sequence
Measure the appliance width, depth, and height first, including handles, doors, hoses, and vent connections. Mark those dimensions on the floor with painter’s tape. Add the required side, top, rear, and front clearances from the appliance manuals. Then mark the door swing, utility sink, cabinets, and path to the exit.
Walk through the taped layout carrying a laundry basket. Open the washer and dryer doors. Pretend you are shutting off the water at midnight with a flashlight. If your shoulder hits a wall or the basket blocks the exit, adjust the plan before ordering cabinets. Finally, photograph the open walls and label every shutoff, drain, outlet, and vent route before closing them up.
Thoughtful laundry room dimensions do more than create a pleasant folding area. They give you visibility, service access, safer ventilation, and a chance to catch water problems early. Get the boring measurements right, and the finished room will be easier to use, easier to insure, and much less likely to become the next claim file on my desk.