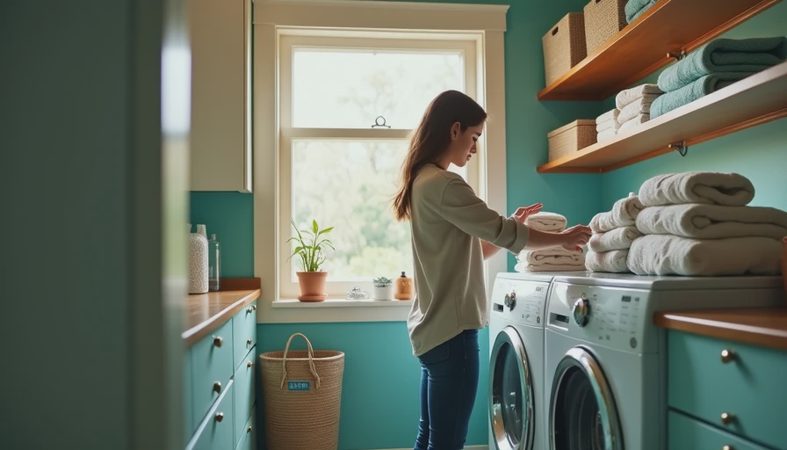
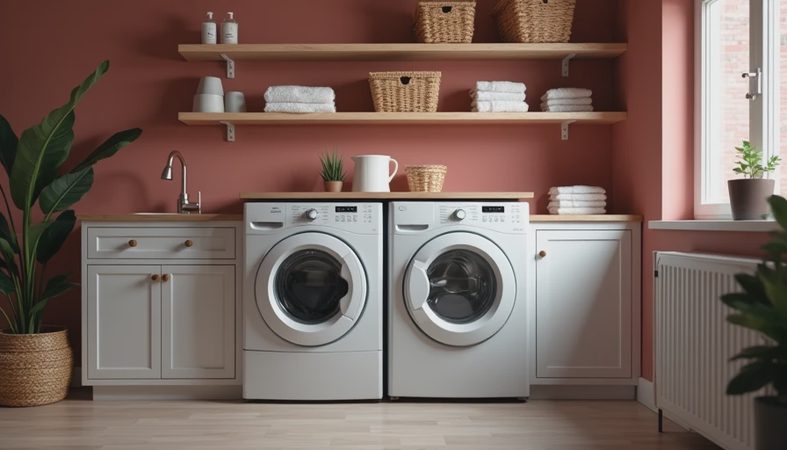
A DIY laundry room renovation sounds like a straightforward weekend job. But I spent ten years as a property claims adjuster, and I've seen too many projects turn into $15,000 insurance claims. Water finds every gap you don't seal. Lint finds every spark you don't clean. Before you pick paint colors, let me walk you through the decisions that matter most. This is the same advice I'd give my own family.
Why the Laundry Room Is the Most Expensive Room to Get Wrong
Laundry rooms handle more water, heat, and moisture than any other room in the house. In my claims experience, washing machine failures cause tens of thousands of dollars in damage every year. A single burst supply hose can send 500 gallons an hour into your flooring, drywall, and joists. Most homeowners find out when the ceiling below starts to sag. That's why a DIY laundry room renovation should start with risk prevention, not Pinterest boards. The average washing machine flood claim runs $5,000 to $15,000. A slow leak can cause mold that costs far more.
Before You Buy Anything: Check the Water and Air
The first step in any DIY laundry room renovation is to shut off the water and inspect the connections. Replace rubber washing machine hoses with stainless steel braided ones. They cost about $20 each and are far less likely to burst. Install quarter-turn shutoff valves so you can kill the water quickly. Check ventilation too. A laundry room without airflow builds humidity, which breeds mold. Install a wall-mounted exhaust fan that vents outside. Code requires it in most areas. Run the duct through an exterior wall, never into an attic or crawlspace. I've seen roofs rotted by improperly vented laundry exhaust.

Choose Flooring and Walls That Can Take a Flood
Here's where many homeowners go wrong. In a laundry room redo, you want materials that won't turn into a sponge. Skip hardwood, laminate, and carpet. Use luxury vinyl plank or porcelain tile. Both cost $2 to $8 per square foot and laugh at a leak. For walls, use water-resistant drywall or cement board behind the washer. Paint with semi-gloss or satin finish. And install a washing machine pan. It's a $50–$100 tray that catches leaks and overflow. Many insurance carriers give a small rate reduction when they see one. It's the cheapest policy you'll ever buy.
Washer Hookup Details That Prevent Disasters
Make sure the standpipe is at least 18 inches tall and has a p-trap. Many older houses have shorter pipes, which can cause backup. Raising it costs a few hundred dollars if you hire a plumber. Don't push the drain hose all the way down the standpipe. Leave a gap so air can circulate and prevent siphoning. If you have a gas dryer, leave the connection to a licensed pro. Gas leaks are not worth saving a few bucks. A professional hookup runs $150 to $300 and takes an hour. Schedule it before you move the dryer into place.
Dryer Venting and Fire Safety You Can't Afford to Skip
Dryer fires are one of the most common causes of home fire damage. They start when lint builds up and meets the heating element. Use smooth metal ducting, not plastic or foil. Foil ducts have ridges that catch lint. Keep the run short and use as few bends as possible. Each 90-degree turn adds about 5 feet of effective resistance. Clean the exterior vent at least once a year. Part of your laundry room plan should include pulling the dryer away from the wall to vacuum behind it. I've seen homes where the space behind the dryer looked like a lint carpet. If your dryer takes longer to dry, the vent is likely clogged.
Lighting, Storage, and Making the Room Usable
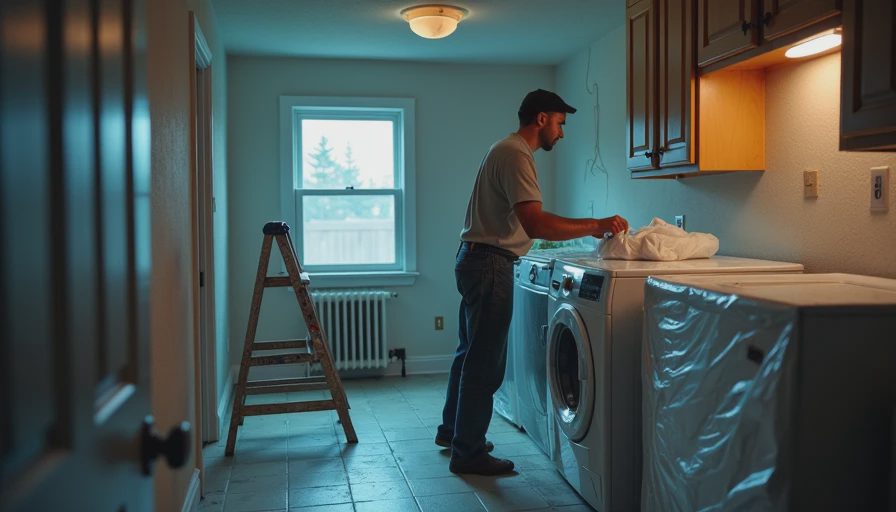
A room you hate to be in is a room you'll never take care of. Good lighting changes everything. Swap a single ceiling bulb for LED panels or under-cabinet lights. You'll see stains better and the space feels bigger. Install open shelves above the machines for detergent. Keep everything within easy reach. If you have front-loaders, add a folding counter above them. A cheap butcher block top gives you a place to sort and fold. For small spaces, stackable washer and dryer units open up floor space. Add a utility sink if you can; it's the best pre-treatment station you'll own.
A Realistic Budget for a DIY Laundry Room Renovation
Let's talk money. A basic DIY laundry room renovation with paint, flooring, and lighting costs $500 to $2,000 if you keep your appliances. Add cabinets, a utility sink, or updated hookups, and you're looking at $2,000 to $6,000. Replacing both machines pushes it to $5,000 and up. But don't forget permits. Plumbing and electrical permits run $50 to $200. They're not just bureaucracy; they protect your resale value. If you're trying to save, spend on the water-safe basics first. A leak-proof floor and a solid vent connection are worth more than designer wallpaper.
A successful laundry room makeover is about more than looks. It's about building a space that survives a flood, resists a lint fire, and makes you want to stay on top of maintenance. Focus on the water path, the air path, and the fire path. Spend a little more on materials that handle moisture. And when in doubt, call your local building department or a licensed pro before you start. I keep a pre-renovation checklist over at Wash & Tell. I'm also happy to look at your laundry room plans and tell you what I'd fix first. Make this the last time you have to touch that room — make it a room you're glad to walk into.