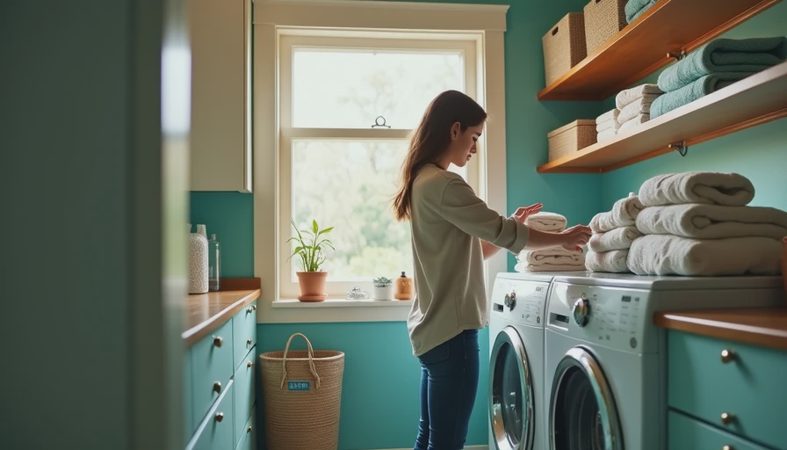
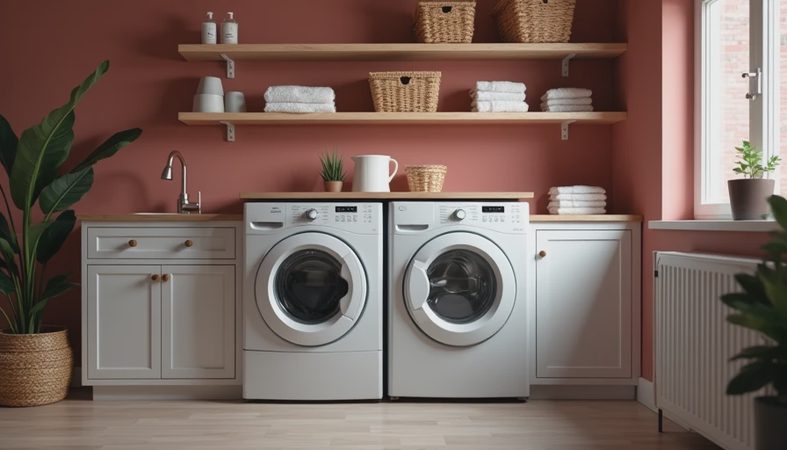
A laundry room makeover sounds like a paint-and-shelving project until you spend one winter in Buffalo and realize the room is really a plumbing closet with a dryer in it. I have walked into basements where a cheap hose split, a drain backed up, and a homeowner lost flooring, drywall, and a weekend at the same time. If your goal is a room that is easier to use and less likely to flood, smell musty, or start a lint fire, this is the place to start. A room you hate to be in is a room you'll never take care of.
Start with the failure points
The first mistake people make is treating a laundry room makeover like a decor exercise. The pretty part matters, but only after you know what can go wrong. The big three are water supply lines, drainage, and dryer venting. A washing machine hose failure can dump water fast enough to soak subfloor, framing, and the room below. A clogged or loose drain can back up and push dirty water across the floor. A lint-packed dryer vent adds heat, slows drying time, and makes the machine work harder than it should.
In the claims files I handled, the expensive losses were rarely dramatic disasters at first. They started as a drip behind a machine, a cracked plastic hose, or a vent line that had not been cleaned in years. If your machines are older, replace the old rubber hoses with stainless steel braided ones. They usually run about $25 to $40 a pair, and that is cheap compared with a cleanup bill that can climb into the thousands. Add a drain pan under the washer if the unit sits on finished flooring or above living space. It is not glamorous, but neither is replacing carpet at 10 p.m.
One Buffalo case that stuck with me involved a washer in a finished basement corner with no pan, no shutoff valve within reach, and a vent line stuffed behind a storage cabinet. The owner wanted new cabinets first. I told him to fix the failure points first. That is the whole logic of a laundry room makeover done right.
Build around water and power
Once the risks are mapped, the next step is the utility work that makes the room safer every day. Put the washer on a grounded outlet with proper electrical protection, and if you are adding a new circuit, have it done to code. Washers and dryers are not the place for extension cords, mystery adapters, or an overloaded strip tucked behind a cabinet. If the dryer is gas, make sure the gas shutoff valve is accessible and the flexible connector is in good shape. If it is electric, check that the receptacle and breaker match the appliance load.
The vent path deserves the same attention. Shorter is better, straighter is better, and rigid metal duct is better than flimsy foil in most permanent installs. A long, crushed, or sneaky zigzag vent path makes lint buildup worse and drying time longer. I also like a proper exterior vent cap that opens freely and closes when the dryer is off. That keeps pests and cold air out while still letting moist air escape.
If you are planning a sink, think like an adjuster, not a decorator. A utility sink is useful only if it is tied into the plumbing correctly, sealed well at the wall, and placed where you can clean behind it. Same with a floor drain, which is one of those features people skip until the day they need it. In a basement, a simple sump backup or water alarm near the machine can buy you time when a hose or pump starts acting up.
Choose finishes that survive real life
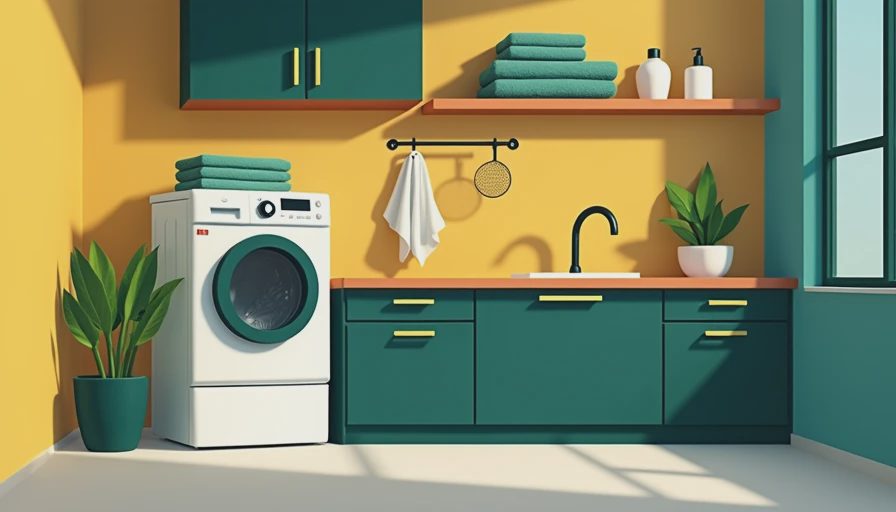
This is where a lot of people overspend on open shelving and underspend on surfaces that can take abuse. A laundry room makeover does not need marble counters or delicate cabinet fronts. It needs materials that shrug off water, detergent splashes, muddy boots, and wet towels dropped on the floor. Luxury vinyl plank, sealed tile, and properly installed porcelain are all stronger choices than carpet or raw wood in most laundry spaces. If the room sits in a basement, think moisture first and style second.
Cabinets should be easy to wipe down and mounted high enough to avoid minor splash damage from the sink or washer. If the room is small, use a countertop over front-load machines for folding, sorting, and a place to set detergent. A melamine or sealed plywood top is practical and usually far cheaper than stone. For walls, a scrubbable satin or semi-gloss paint is enough for most homes. Save the wallpaper for a room that does not see steam, lint, and the occasional detergent spill.
Ventilation matters here too. A tight room with no air movement becomes a damp room, and a damp room becomes a mildew room. If the space feels stuffy after one load, you may need a fan, better door clearance, or a better route for humid air to leave. In older houses, I have seen a simple change like adding a louvered door or improving the dryer vent cut the musty smell noticeably within a week.
Storage, budget, and the order of operations
The best storage plan is the one that makes laundry less annoying, not more photogenic. Put detergent, stain remover, dryer sheets, and hangers where the person doing the laundry can reach them without moving a hamper. Use open bins for items that get grabbed fast, and closed storage for the things that look messy, like extra paper towels, cat litter, or cleaning products. If kids help with laundry, keep the everyday supplies lower. If you share the room with a utility sink, leave room to stand and work without bumping a cabinet door.
As for budget, I would rather see a homeowner spend $300 on hoses, shutoffs, vent work, and a leak alarm than blow that money on decorative baskets. A small laundry refresh can stay under $2,000 if the plumbing and electrical are already sound. A more complete renovation with cabinets, flooring, lighting, and a new sink can land in the $5,000 to $15,000 range depending on the room and the finishes. The point is not to spend big. The point is to spend in the right order.

If you want a simple plan, do it in this order: fix water first, fix ventilation second, fix power third, then make it look like a room you do not mind entering. That is how a laundry room makeover stops being a weekend project and starts becoming a room that protects the house while making your life easier. If you want a space that will age well in a damp basement or a cramped closet, that order is hard to beat.