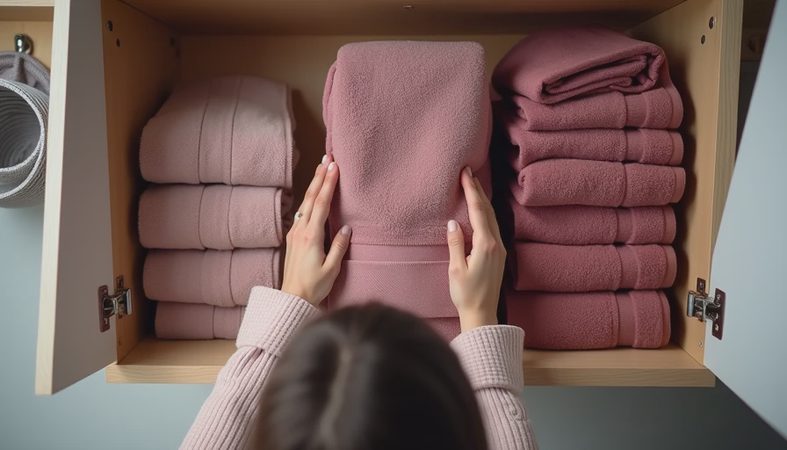
Laundry room lighting is easy to treat as an afterthought. Put a cheap ceiling fixture in the middle, screw in the brightest bulb you can find, and move on to the washer hoses. I understand the temptation. In my old Buffalo basement, the laundry area originally had one dim pull-chain socket and a bare bulb that made every shadow look like a plumbing problem. But poor lighting is more than an eyesore. It hides a slow leak, makes lint and spilled detergent harder to see, and turns a narrow room into a place where someone can trip over a basket.
A room you hate to be in is a room you'll never take care of. Good lighting makes routine inspection easier, and that matters in a room built around water, heat, electricity, and a spinning appliance.
Start with a safety inspection
Before shopping for decorative fixtures, inspect the room. Look for water stains around the washing machine box, condensation on cold pipes, frayed cords, overloaded outlets, and a dryer vent connection that is loose or crushed. Lighting cannot correct a wiring problem, and a new fixture should not be installed over active moisture.
If the room is in a basement, measure the ceiling height and note any exposed joists, ductwork, or pipes. A hanging pendant can be attractive in a large remodel but is a poor choice where a laundry basket can swing into it. In a closet, even a low-profile fixture may interfere with shelving or a folding door.
For any new circuit, junction box, or hardwired fixture, use a licensed electrician when you are not comfortable identifying the circuit and confirming that power is off. Ground-fault circuit interrupter protection is commonly required in locations near water, but local code determines the exact installation. Never remove a grounding pin to make a plug fit.
Choose the right fixture for the room
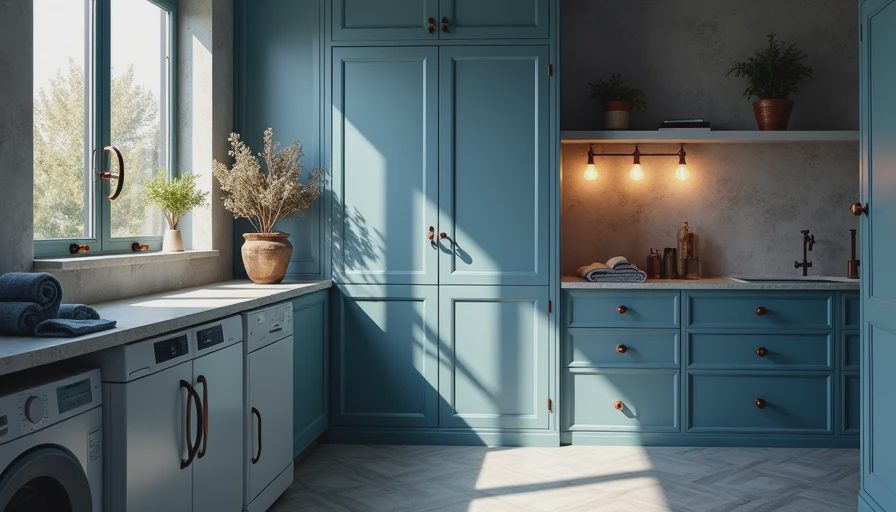
For most laundry areas, I prefer a low-profile LED flush mount or a surface-mounted LED strip. These spread light across the room without taking ceiling space, and many use 15 to 30 watts while producing substantially more light than an old incandescent bulb. A quality fixture from Lithonia, Leviton, Commercial Electric, or a reputable lighting retailer can often cost $30 to $100 before installation.
In a basement with exposed joists, shop-style LED fixtures can work well when they are mounted securely and protected from accidental impact. Avoid placing a fixture directly where the dryer vents through the ceiling unless the product is rated for that environment. In damp areas, select a fixture with a suitable damp-location rating rather than assuming every enclosed LED is moisture-safe.
Recessed lights create a clean appearance, but they require more planning. Older recessed housings can allow air movement into the ceiling cavity, and an installation near insulation, framing, or ductwork must follow the product's clearance instructions. A surface fixture is often simpler, cheaper, and easier to replace later.
Layer laundry room lighting instead of adding one harsh bulb
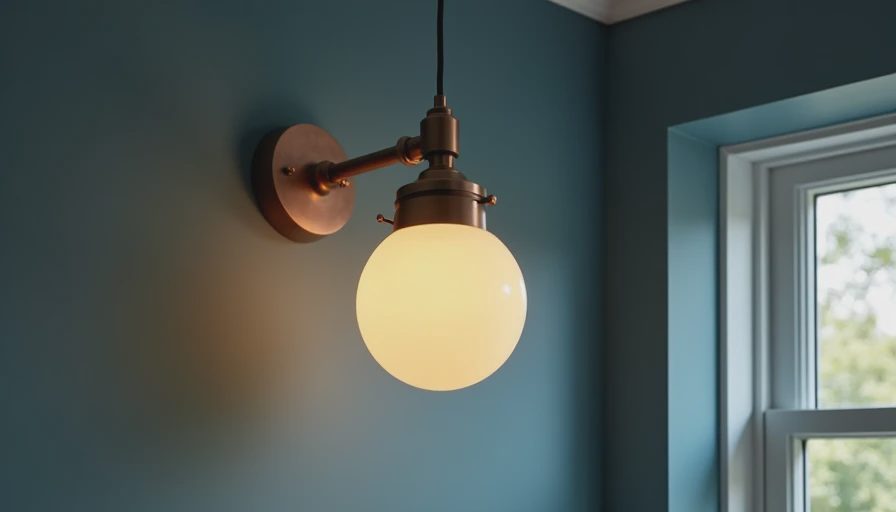
One overhead fixture may illuminate the floor but leave the washer controls, utility sink, and folding counter in shadow. A better plan uses layers. Start with general ceiling light, then add focused light where you work. Under-cabinet LED bars can brighten a counter, while a wall-mounted fixture near a sink can eliminate the shadow created by upper cabinets.
This is where laundry room lighting becomes genuinely useful. Put the main fixture on a wall switch near the entrance, not behind the machines. If the room has two entrances, a three-way switch can save you from crossing a dark floor. A motion sensor can be convenient in a basement, but choose a model with a manual override so the lights do not shut off while you are sorting a full load.
Keep switches and fixtures positioned away from splash zones. Do not run an extension cord through cabinets or use a dangling cord as a permanent installation. If you want lighting inside a cabinet, use a listed low-voltage kit and route the power according to its instructions.
Use color temperature and brightness strategically
The number printed on a light bulb is not the whole story. Lumens describe brightness; Kelvin describes color appearance. For a typical laundry room, a fixture around 3,500K to 4,000K gives a clean neutral light without making the basement feel like a warehouse. Around 3,000K feels warmer and can work in a finished room with wood cabinets, but it may make white clothing look less crisp.
Look for a high color-rendering index when you regularly match colors, inspect stains, or read care labels. An LED in the 80s or higher is a reasonable starting point. For a small room, 1,500 to 3,000 total lumens can be adequate, depending on ceiling height, wall color, and cabinet coverage. Instead of installing one blinding fixture, distribute light so you can see the floor, hoses, lint screen, and counter without squinting.
A dimmer is useful in a finished laundry room, but confirm that both the LED fixture and dimmer are compatible. Flickering is not a design feature; it usually points to an incompatible control, poor connection, or failing product.
Protect the places where claims begin
In my claims work, the first useful question after a laundry-room loss was often, “What did you notice before the water spread?” A bright room does not prevent a hose from bursting, but it can help you spot a damp floor or a white mineral trail around a fitting before the damage grows.
Aim laundry room lighting at the areas that deserve inspection: the hot and cold supply connections, washing machine drain, shutoff valves, dryer vent, and floor beneath both appliances. Leave enough space to see and reach those points. Do not bury valves behind permanent cabinetry merely to create a cleaner photograph.
Use metal-braided washing machine hoses rather than old rubber hoses, replace them when they show wear, and close the valves when the machine will be unattended for an extended period. Keep the dryer lint screen clean, and make sure the exhaust duct terminates outdoors where required. Lighting is part of a prevention system, not a substitute for maintenance.
A practical installation plan for three budgets
With a budget under $100, replace a dim bulb with a reputable damp-rated LED flush mount, add a brighter neutral LED, and improve the switch location if existing wiring permits. You will get the biggest improvement by fixing shadows and eliminating the pull-chain reach across the room.
At $200 to $500, combine a ceiling fixture with under-cabinet lighting, a proper wall switch, and a compatible dimmer or occupancy sensor. This range works well for a utility-room refresh without opening every wall.
For a larger remodel, plan the lighting before cabinets, drywall, and appliance placement. Use separate controls for the ceiling, counter, and sink zones. Leave access panels around plumbing, specify fixtures for the room's moisture conditions, and have the electrical work inspected when local rules require it. Laundry room lighting should support cleaning, maintenance, and safe movement as well as appearance.
A five-minute monthly lighting check
Turn on every fixture and look for flickering, buzzing, discoloration, or a warm wall plate. Wipe dust from exposed fixtures, because lint and basement dust reduce useful light. Stand behind the washer and confirm that you can see the supply hoses and drain. Shine the light along the floor to find moisture that overhead illumination can hide.
Then inspect the dryer area. Confirm that the lint screen is clean, the vent connection is secure, and no storage box is blocking airflow. Replace a cracked cover, loose switch, or damaged cord instead of postponing it until the next remodel.
The best laundry room lighting is not necessarily the most expensive. It is the arrangement that lets you see a puddle, read a label, find a dropped sock, and reach the shutoff without drama. In a room that handles several loads every week, that is a practical upgrade with a safety payoff.