If you know how to clean a dryer vent duct, you can remove one of the most overlooked fire and moisture hazards in a laundry room. I learned that lesson during ten years as a property claims adjuster, walking through homes where a small maintenance failure turned into thousands of dollars in damage. A blocked vent does not always announce itself dramatically. Sometimes the clothes simply take two cycles to dry, the basement feels warmer, and lint begins collecting behind the machine.
That combination matters. A dryer needs to push hot, damp air outdoors. When lint, crushed ductwork, birds' nests, or winter ice restrict the path, heat stays inside the appliance and moisture can linger in walls and ceilings. A room you hate to be in is a room you'll never take care of, so this is one chore worth making simple and repeatable.
Why Dryer Vent Cleaning Belongs on Your Maintenance List
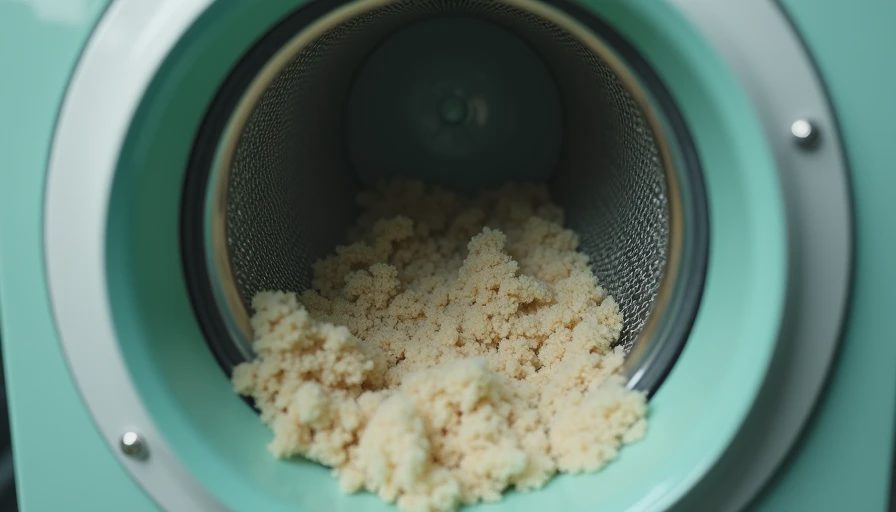
The lint screen catches only part of what leaves a load of laundry. Fine lint travels through the dryer's internal housing and exhaust duct, where it can stick to rough metal, flexible foil, or a sagging section of tubing. Each load adds another layer. The result is reduced airflow, longer drying times, and extra heat around a machine that already runs hot.
In homes I inspected, the warning signs were usually easy to spot after the damage had started. The dryer cabinet felt unusually hot, the laundry room smelled dusty, or the outside exhaust flap barely moved. A family might replace the dryer, assuming the appliance was failing, when the actual problem was a four-inch duct packed with lint. A service call and cleaning often cost roughly $100 to $250, while fire and smoke repairs can quickly reach several thousand dollars or more.
Learning how to clean a dryer vent duct also helps you notice installation problems. The vent should terminate outdoors, not in a basement, crawlspace, attic, or wall cavity. Venting indoors releases moisture and lint where mold and combustible dust can accumulate. If you see a screen over the exterior cap, remove it; screens can trap lint and block airflow.
How to Clean a Dryer Vent Duct Safely
Start by unplugging the dryer. If it is gas-powered, close the gas shutoff valve only if you can do so safely and avoid disturbing the connection. Pull the machine forward without sharply bending the duct. Take a picture of the existing setup before disconnecting anything, especially if the dryer sits in a tight closet.
Remove the clamp and inspect the transition duct. Replace thin plastic or vinyl tubing with a listed metal transition duct. Flexible metal is acceptable for the short connection when installed correctly, but it should not be crushed behind the machine. The long run through the wall should generally be smooth, rigid metal duct with as few bends as possible.
To clean a dryer vent duct, use a dryer vent brush kit with flexible rods and a vacuum capable of collecting fine debris. From the laundry room, loosen lint with the brush while vacuuming what you can reach. If the duct exits through an exterior wall, cleaning from both ends is more effective. Rotate the brush clockwise so threaded rods do not loosen inside the duct. Do not force the brush through a sharp turn or push a large mass of lint deeper into the wall.
A leaf blower can move lint through a short, straight duct, but it can also blast debris into a wall cavity or attic if the vent is disconnected. I prefer a purpose-built brush and vacuum for most homes. When the duct is unusually long, runs through a ceiling, or has several hidden bends, a professional dryer vent technician has the equipment to measure airflow and clear the entire route.
Reconnect the duct with approved clamps, not screws that protrude into the airflow. Those screws catch lint. Confirm that the outside flap opens strongly when the dryer runs, then check for leaks around the connection. Never operate the dryer while the duct is disconnected unless a qualified professional is conducting a controlled service procedure.
The Problems a Basic Cleaning Will Not Fix
Cleaning is not a cure for every vent problem. In older Buffalo houses, I frequently find ducts routed through cold basements or unheated walls. In winter, warm moist exhaust can condense inside the cold pipe, creating wet lint that sticks to the duct. Insulation around an appropriate section may help, but the route and termination should be evaluated first.
A vent that disappears into the ceiling deserves attention. The duct may be crushed, disconnected, or dumping air into an attic. That creates a moisture problem even if the dryer seems to work. Look for damp insulation, darkened framing, peeling paint, or a musty smell near the route. Those are reasons to stop guessing and arrange an inspection.
The exterior hood also needs maintenance. Clear grass, snow, lint, and cobwebs from the opening, but do not remove the damper. A missing damper can let cold air, insects, and rain enter the duct. If a bird has nested inside, do not reach blindly into the opening. Turn off the dryer and have the obstruction removed safely.
If you want to clean a dryer vent duct but the dryer takes much longer to dry afterward, the restriction may be inside the appliance. Lint can accumulate around the blower housing, and an internal cleaning usually requires partial disassembly. That is a job for a qualified appliance technician rather than a long brush pushed through the drum.

A Practical Maintenance Schedule
Clean the lint screen after every load, including loads of towels and bedding that shed heavily. Once a month, vacuum the screen housing with a narrow attachment. Check the outside flap at least four times a year and clear away snow or landscaping debris. Inspect the transition duct whenever you move the machine or notice a change in drying performance.
For many households, an annual duct inspection is sensible. Homes with a long vent run, a basement laundry room, multiple loads each day, or a history of lint buildup may need more frequent cleaning. Mark the date on a utility-room calendar. It is easier to remember “vent cleaning every spring” than to wait for a warning sign.
Keep the area around the dryer clear. Do not store cardboard boxes, cleaning rags, paper bags, or aerosol products beside the machine. Maintain the manufacturer's clearance and avoid running the dryer while nobody is home. A smoke alarm near, but not inside, the laundry area adds another layer of protection.
When to Call a Professional
Call a professional if the duct runs through a finished wall and you cannot determine its route, if the outside termination is on a roof, or if the vent is shared with another appliance. Also call when you find water inside the duct, a disconnected section, heavy rust, or a strong burning smell. A $150 to $300 cleaning is a reasonable expense compared with opening a ceiling to repair wet framing or smoke damage.
A technician should be able to explain what was removed, identify the duct material, confirm the exhaust location, and show you that airflow improved. Be cautious about anyone who promises a guaranteed fire-prevention result or insists on replacing the dryer without testing the vent. Good service focuses on the complete exhaust path, not just the lint screen.
The Five-Minute Final Check
After cleaning a dryer vent duct, run the dryer with a moderate load and stand outside. The exhaust flap should open fully, and the air should feel warm but not dangerously hot. Inside, the dryer should not smell smoky, and the cycle should finish in a normal period for that load. Check the wall behind the machine for excessive heat or moisture.
Then write down the date, the duct route, and anything you repaired. Take a quick photo of the exterior cap for your records. This small habit is useful when you sell the house, troubleshoot a future problem, or explain maintenance to a contractor.
The goal is not a spotless utility room. It is a dryer that can exhaust heat and moisture safely, a duct that is easy to inspect, and a homeowner who notices trouble before it becomes a claim. Learn how to clean a dryer vent duct once, set a schedule, and make the task part of the same routine as checking washing machine hoses and water shutoff valves.