Fire damage repair is not just a matter of wiping soot off the washer and painting the walls. In a laundry room, heat, smoke, melted plastic, water from firefighting, and damaged wiring can hide behind finished surfaces. I learned that during ten years handling property claims, and I have seen a small dryer fire turn into a much larger rebuilding project because someone started cleaning before documenting the damage.
If the fire is active, leave immediately and call 911. Do not re-enter until the fire department says it is safe. Afterward, your first priorities are safety, documentation, temporary protection, and a clear plan with your insurer and qualified contractors.
What to do during the first 24 hours
Once officials release the home, take photographs and video before moving appliances, throwing away clothing, or scrubbing walls. Capture the laundry room from the doorway, then record close-ups of the dryer, electrical outlet, vent connection, cabinets, flooring, ceiling, and any water pooling below. Include serial numbers and brand labels when they are visible. A simple inventory with approximate purchase dates is more useful than a pile of discarded parts.
Fire damage repair usually starts with an inspection by a fire-restoration professional, an electrician, and sometimes a heating or ventilation contractor. Ask the restoration company to identify soot type, moisture levels, structural concerns, and areas requiring removal. A moisture meter matters because water used to extinguish the fire can soak subflooring and framing even when the room looks dry.
Do not use the washer or dryer until an electrician has inspected the circuit, receptacle, breaker, and appliance connections. Do not reconnect a dryer vent with foil tape alone if the duct is crushed, melted, or routed incorrectly. If the fire department used an extinguisher, save the unit and note its model; residue can damage metal and electronics over time.

Finding the real source of the fire
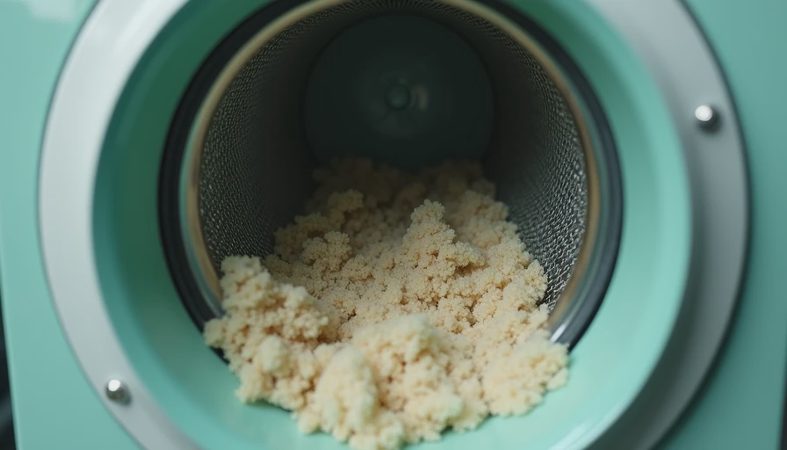
The visible burn mark is not always the origin. Dryer fires commonly involve accumulated lint, restricted airflow, a damaged belt, an overheated motor, or a vent that terminates improperly. A washer area can also be affected by an overloaded receptacle, loose connection, extension cord, or wiring damaged by age or moisture. In older homes, an electrician may find aluminum wiring, undersized circuits, or improvised repairs that need correction before reconstruction.
Good fire damage repair includes cause investigation, not just cosmetic replacement. Ask for a written explanation of what the inspection found and which components are unsafe. If the dryer is scorched, replace it rather than trusting a cosmetic repair. A typical new electric dryer can cost roughly $500 to $1,200, while a vent replacement may run from about $200 to $800 depending on access. Gas appliances require extra caution because the shutoff, flexible connector, and surrounding combustion area need professional review.
The fire marshal's report, appliance information, and contractor findings can help your claim stay organized. Keep every receipt for emergency board-up, temporary lodging, cleaning, storage, and replacement items. Coverage depends on your policy, deductible, exclusions, and the cause of loss, so do not promise a contractor that every proposed upgrade will be paid by insurance.
Smoke, soot, and water are separate problems
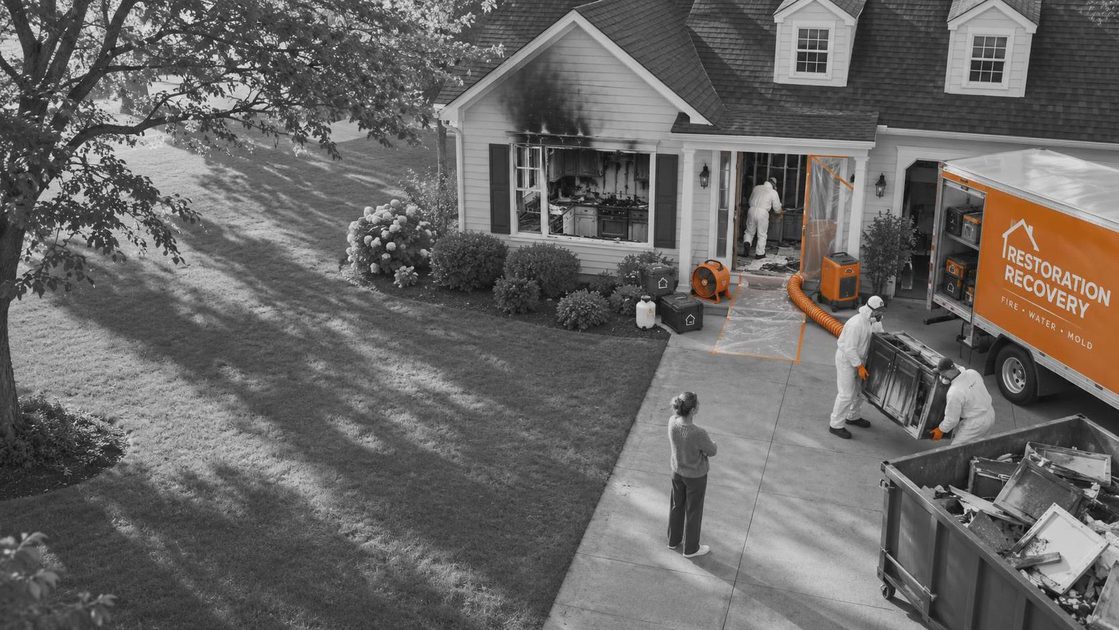
Smoke odor often travels farther than flames. Porous drywall, insulation, unfinished wood, clothing, and cardboard storage bins can hold odor for weeks. Fire damage repair may involve removing heavily affected drywall and insulation, cleaning salvageable framing with appropriate products, and using professional deodorization equipment. Painting over smoke staining without cleaning usually produces a temporary improvement, not a solution.
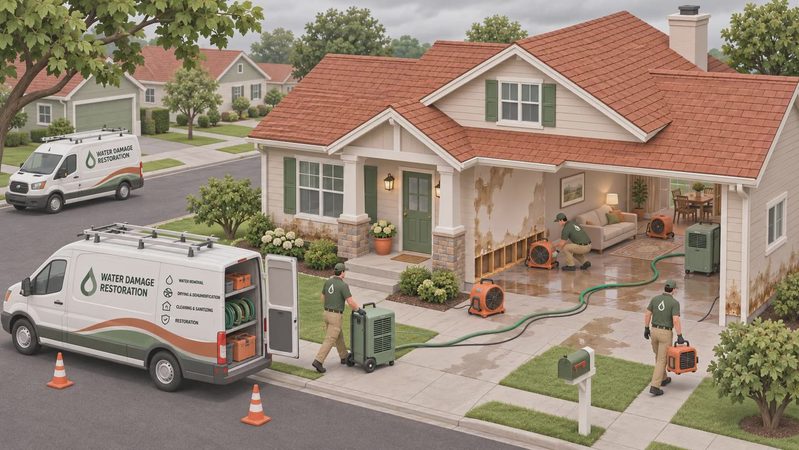
Water damage from suppression can create a second claim problem. Wet insulation should generally be removed, and damp subflooring needs drying before new flooring is installed. Restoration crews may use air movers, dehumidifiers, and containment barriers. Ask for moisture readings at the beginning and end of drying rather than relying on a fan running in the corner.
Some belongings can be cleaned successfully. Metal shelving, glass containers, and certain machine parts may respond well to cleaning. Upholstered items, clothing, and paper goods require item-by-item evaluation. Photograph everything before disposal, and get written authorization when your adjuster requires it. The goal is not to save every object; it is to make defensible decisions about safety, value, and restoration cost.
Rebuilding a safer laundry room
The rebuild is your chance to correct the failures that helped create the loss. Use a rigid, properly sized dryer duct with as few bends as practical, and keep the exterior termination clear. Clean the lint screen after every load and inspect the vent path periodically. Never run the dryer while sleeping or when nobody is home, especially after repairs.
For washing machines, I recommend braided stainless-steel hoses with quality shutoff valves, not old rubber hoses. Replace hoses when they show cracking, bulges, rust, or age-related wear. A leak-detection sensor with an automatic shutoff can cost around $50 to $200 and is one of the better small investments in a basement laundry area. Put the washer pan where it can drain appropriately, but do not assume a pan replaces a sound hose connection.
During fire damage repair, consider moisture-resistant drywall, washable flooring, accessible shutoffs, and a dedicated utility light. Keep combustible storage away from the dryer and electrical equipment. Do not block the furnace, water heater, electrical panel, or required working clearances to gain a few extra shelves. A beautiful room that cannot be safely serviced is an expensive trap.
Managing the project and the claim
Choose a contractor who can explain demolition, cleaning, drying, reconstruction, and final testing as separate stages. A low initial estimate can become costly if it excludes odor treatment, hidden framing damage, permit fees, or electrical corrections. Compare scopes line by line rather than comparing only the bottom-line price.
Your insurance adjuster will usually need the date of loss, cause information, photographs, inventory, estimates, receipts, and proof of ownership for larger items. Keep a claim notebook or digital folder with names, dates, decisions, and open questions. If the contractor discovers hidden damage after demolition, photograph it before removal and request a supplemental estimate. Fire damage repair is easier to manage when the paper trail matches the physical work.
Temporary repairs should prevent additional damage without permanently changing the property. A tarp, board-up, emergency drying, or temporary electrical isolation may be appropriate. Replacing an entire room before the cause and scope are documented can create confusion about what existed before the loss and what was upgraded afterward.
A practical final checklist
Before using the rebuilt room, confirm that the electrician has completed required work and that damaged circuits are safe. Confirm the dryer vent is connected, unobstructed, and exhausting outdoors. Check that the washer hoses are tight and that shutoff valves operate. Look for lingering smoke odor, soft flooring, stained framing, or condensation around the vent and exterior wall.
Ask for invoices, warranties, permits when applicable, appliance manuals, and photographs of concealed work. Set a reminder to inspect hoses and the dryer vent twice a year, especially before the heating season. I use a moisture meter in my own basement because prevention is cheaper than another claim and far less disruptive than moving laundry into the kitchen.
The best fire damage repair restores the room while removing the conditions that made the loss possible. A room you hate to be in is a room you'll never take care of. Build a laundry room that is accessible, ventilated, dry, and boringly safe, and you will have done more than make it look new.