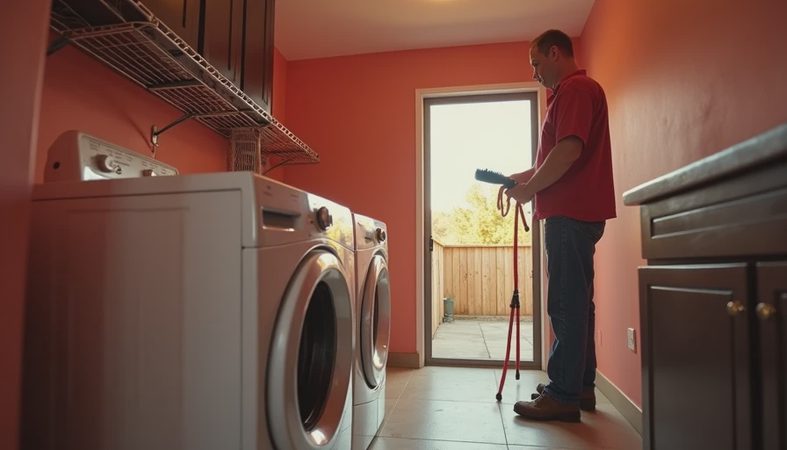
Cleaning dryer duct vent is one of those jobs people put off until the dryer starts taking two cycles to finish a towel load or the laundry room smells hot and dusty. In the houses I’ve walked through as a claims adjuster, the lint screen was almost never the whole story. The trouble sat in the hidden run: a crushed flex hose behind the machine, a roof cap packed with lint, or a vent line so long the dryer was working like it was breathing through a straw. In a Buffalo basement, that gets worse fast. Warm moist air meets cold framing, lint sticks, and the system starts building a problem you can’t see from the doorway.
Why cleaning dryer duct vent matters more than the lint screen
The lint screen catches the obvious stuff. The vent line handles everything that slips through, and that includes fine lint, fabric dust, and moisture. Once that mix starts coating the inside of the duct, airflow drops and heat builds. That is how a dryer turns from a simple appliance into a fire and moisture risk.
I’ve seen homes where the dryer was fine for years, then suddenly clothes came out damp, the top of the machine felt unusually hot, and the owner blamed the appliance itself. Half the time, the machine was innocent. The vent was the choke point. A clogged run can make the dryer run longer, raise utility bills, and dump extra heat into a room that already struggles with humidity. In a basement laundry area, that extra moisture can feed mold on drywall, trim, or stored boxes. If the room already feels stale, the vent is usually part of the reason.
The good news is that this is not a glamorous project, but it is a manageable one. If the vent run is short and simple, a homeowner can clean it with the right tools and a little patience. If the line is long, twisted, or hidden in a wall, the job gets more complicated and the margin for error shrinks.
What to use and what to skip
For cleaning dryer duct vent runs, I like a dryer vent brush kit with flexible rods, a flashlight, a vacuum with a hose attachment, and a screwdriver for the hose clamp or band. A crevice tool helps around the back of the dryer and the floor line where lint loves to collect. If you have a rigid or semi-rigid metal duct, that brush does the real work. If the vent is flimsy foil or vinyl, that is a separate problem, because those materials can sag, trap lint, and tear too easily.
Skip the shortcuts that create more trouble later. Duct tape is not the fix for a loose vent joint. Use foil HVAC tape where you need a seal. Do not stuff the transition hose tight against the wall and call it done. Do not leave the machine jammed so far back that the hose gets crushed every time someone does laundry. A vent line needs room to breathe, and so does the dryer itself.

If the exterior cap is reachable from the ground, check that too. Bird nests, snow, or a stuck flap can block airflow even when the inside of the duct looks acceptable. I have seen a vent system that looked clean on the inside but failed because the outside hood would barely open. That kind of hidden bottleneck is why a quick visual check is worth doing every time.
How I clean a typical vent run
When I am cleaning dryer duct vent lines, I start with safety and access. Unplug the dryer, or shut off the gas and power if it is a gas model and you need the unit pulled far from the wall. Then move the dryer out carefully and inspect the transition hose before you touch the main duct. If the hose is torn, crushed, or coated with heavy lint, replace it instead of pretending it will survive another season.
Next, I vacuum the area behind and under the dryer. That part sounds basic, but the pile of lint behind a machine is often the first thing a homeowner never sees. After that, I detach the vent connection and run the brush through the duct from one end, then the other if the layout allows it. Short back-and-forth strokes work better than forcing the rods. If the brush stops hard, do not ram it through. You may be hitting a bend, a disconnected joint, or a packed section that needs a slower pass.
I also clean the outside hood and wipe the vent connection before reassembly. Once everything is back together, I test the airflow with the dryer running for a minute. A steady blast at the exterior cap is what you want. Weak airflow means the problem is not solved yet.
Signs the job is overdue
The warning signs are usually easy to spot if you know what to look for. Clothes taking longer to dry is the biggest one. A load that used to finish in 45 minutes now needs an hour and a half. Another clue is heat. If the dryer cabinet feels hotter than usual or the laundry room is warmer after a cycle, the vent may be restricting airflow.
Smell matters too. A hot, dusty odor is different from a mechanical smell, and both deserve attention. Lint around the exterior cap, more moisture in the room, or a vent flap that barely opens are all signs the system is struggling. If a dryer suddenly trips a breaker, shuts off early, or leaves jeans and towels damp in the same cycle, the vent deserves a look before you blame the appliance.
This is also where a little home-owner honesty helps. If you cannot remember the last time the vent was cleaned, it is probably overdue.

When a pro is worth the money
If cleaning dryer duct vent means crawling into a tight attic, climbing a two-story ladder, or dealing with a roof cap you cannot safely reach, hire it out. A professional cleaning often runs about $100 to $250 for a normal single-family setup, and a more difficult run can cost more if the line is long or hard to access. That is still cheap compared with smoke cleanup, damaged framing, or a dryer replacement caused by constant overheating.
A pro is also the smart call when the vent run is unusually long, has multiple turns, or keeps clogging soon after you clean it. That can point to a bad layout, a disconnected joint inside a wall, or a vent material that should have been replaced years ago. In older homes, I also like a professional inspection after a remodel, because a new laundry cabinet or a moved appliance can quietly kink the duct and create a fresh problem.
A simple maintenance rhythm that works
Most households should think about the vent once a year, with a midyear check if the dryer gets heavy use, the household is large, or pets add extra lint. If you move into a new house, put the vent on your first-month checklist. If the dryer is in a basement or interior closet, pay even closer attention because poor airflow and trapped moisture are tougher on both the machine and the room.
The point is not to turn laundry day into a hobby. The point is to prevent the kind of claim I used to see after a small problem had weeks to grow. A room you hate to be in is a room you'll never take care of, so make the space simple, dry, and easy to service. That is how you keep a modest appliance from becoming a very expensive surprise.