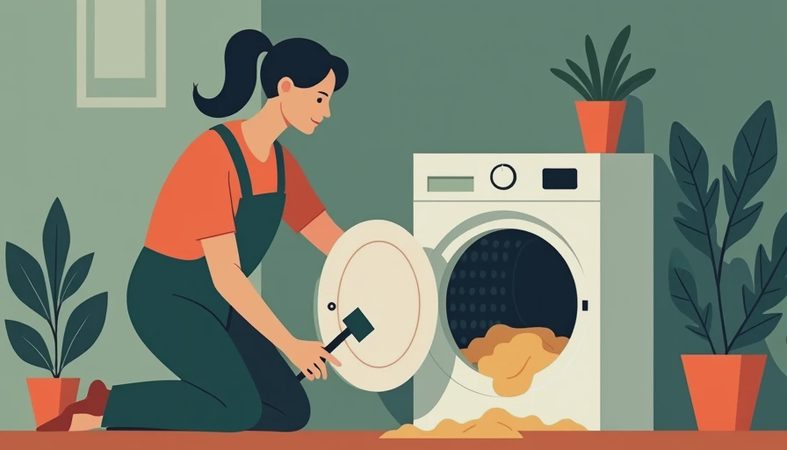
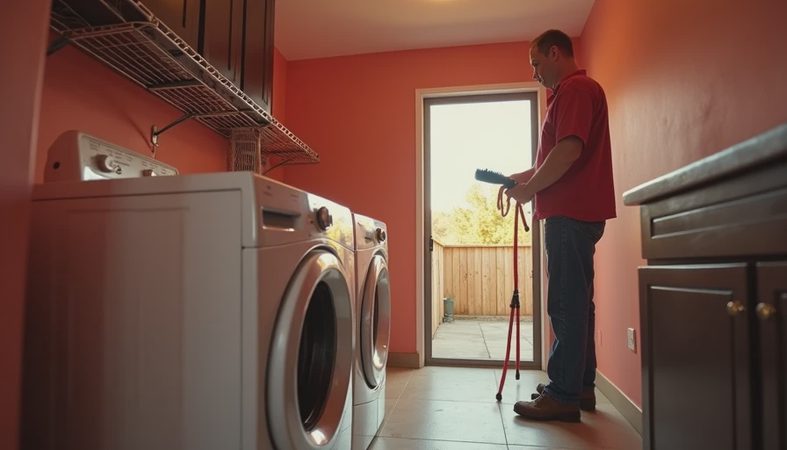
A dryer vent cleaning kit is one of those cheap tools that can save you from a very unglamorous headache. I spent years looking at claims, and I can tell you this: when a laundry room starts acting weird, the first sign is often simple. The clothes take two cycles to dry. The dryer cabinet feels hotter than usual. The lint trap looks normal, but the vent line is packed anyway. That is how a small maintenance job turns into a bigger safety issue, and sometimes into a service call nobody wanted to pay for.
A room you hate to be in is a room you'll never take care of, and laundry spaces are full of little traps that get ignored until they fail. A dryer vent cleaning kit is not magic, but it gives a homeowner a real shot at clearing lint from the run between the machine and the exterior cap. That matters because lint is both an airflow problem and a fire problem. If you are trying to keep the laundry area boring, dry, and safe, this is the kind of boring tool worth owning.
What the tool actually fixes
Most people think the lint screen does all the work. It does not. A lot of lint escapes the screen, especially if the load is mixed fabric, the dryer is older, or the vent has a few elbows in it. Once lint starts narrowing the duct, the dryer has to work longer to move air. That means longer dry times, more wear on the machine, and more heat inside the cabinet and duct.
The useful part of a dryer vent cleaning kit is that it reaches the run you cannot see. On a simple setup, it can pull out a surprising amount of lint from the first several feet and from the wall connection behind the dryer. On a longer run, it helps restore airflow enough that a load of towels stops feeling like a half-day event. If your dryer used to finish in 45 minutes and now needs 80, the vent is a better suspect than the detergent.
This is also where a lot of homeowners learn the hard way that a clean lint trap is not the same as a clear vent path. The machine can look fine on the outside and still be choking on the inside.

What to look for before you buy
A dryer vent cleaning kit should come with flexible rods, a brush head sized for standard vent piping, and enough length to reach the exterior termination on many homes. If the brush looks flimsy, skip it. If the rods seem too short for a basement run or a second-floor laundry, that is a red flag too. I like kits that can be used by hand and also accept a drill adapter, but only if the instructions are clear and the rods lock together without wobbling.
Material matters. The brush should be tough enough to grab lint without shredding itself on a metal elbow. The rods should flex, but not so much that they fold over when you hit a bend. A shop vacuum is a good companion piece, because you want to catch the lint you loosen instead of letting it drift back into the laundry room.
Price is usually reasonable. Most homeowners can get a usable kit in the $20 to $60 range. That is a lot cheaper than replacing a dryer that overheated or calling for emergency service because the machine stopped venting properly.
How I would use it in a real laundry room
Before I use a dryer vent cleaning kit, I unplug the dryer and pull it far enough out to inspect the hose, the clamp, and the wall opening. If the transition duct is crushed, taped badly, or made from plastic or flimsy foil, I stop and fix that first. Cleaning a damaged duct is like mopping up under a leaking pipe and pretending the pipe is not the problem.
Next, I disconnect the vent from the back of the dryer and vacuum around the opening. Then I feed the brush in slowly, not like I am trying to drill a hole through drywall. Short strokes work better than brute force. If the vent run is long, I work a few feet at a time and back the brush out often so the lint does not pack tighter in the bend. On the exterior cap, I check that the flap opens freely and is not plastered shut with lint or paint.
If you hear scraping metal, that is usually fine. If the rods bind hard, stop and figure out where the bend is. That is how you keep from breaking a rod inside the duct and creating a new problem for yourself.

Where homeowners get in trouble
The common mistake is assuming the job is done once the visible lint comes out. It is not. A long vent run with two or three elbows can hold a stubborn layer of lint deeper in the line, especially in a basement laundry or a second-story hall closet. I have seen homeowners clean the first section and call it good, then wonder why drying times barely changed.
The other mistake is ignoring the exterior vent hood. If the flap sticks, the dryer cannot move air efficiently no matter how clean the inside looks. Birds, insects, and heavy lint can all cause trouble there. If the vent exits through the roof, the job gets more awkward and less fun, which is exactly why people delay it.
A dryer vent cleaning kit is also not the answer when the vent run is crushed behind the machine, when the duct is badly disconnected in the wall, or when the dryer still runs hot after cleaning. At that point, the problem is probably installation or obstruction, not just lint. That is when a pro inspection starts to make sense.
When the kit is enough and when it is not
A dryer vent cleaning kit is enough for many routine maintenance jobs: a short, mostly straight vent; a machine that has just started drying slower; or a homeowner who wants to stay ahead of lint buildup once or twice a year. It is especially useful in houses where the laundry room is tucked into a basement and the dryer gets heavy use from a family of four.
It is not enough if the vent is hidden behind finished walls, runs a long distance to the exterior, or has a history of recurring clogs. It is also not enough if the dryer drum smells hot, the laundry room feels unusually warm, or the breaker trips when the machine runs. Those are signs to slow down and inspect the whole setup.
A simple maintenance routine that actually sticks
The easiest routine is seasonal. Clean the lint screen every load, vacuum the back of the dryer a few times a year, and use the kit before winter and again in late summer if the machine gets heavy use. If you have pets, do it more often. If a load of towels starts taking too long, move the vent check up the calendar instead of waiting for a bigger warning.
That is the whole point of maintenance in a laundry room: keep the boring parts boring. A clear vent means less heat, less strain on the dryer, and less chance that a dusty, forgotten corner becomes the place where a bad day starts. If you want a cheap tool that helps you stay ahead of that mess, this is one of the better buys on the shelf.