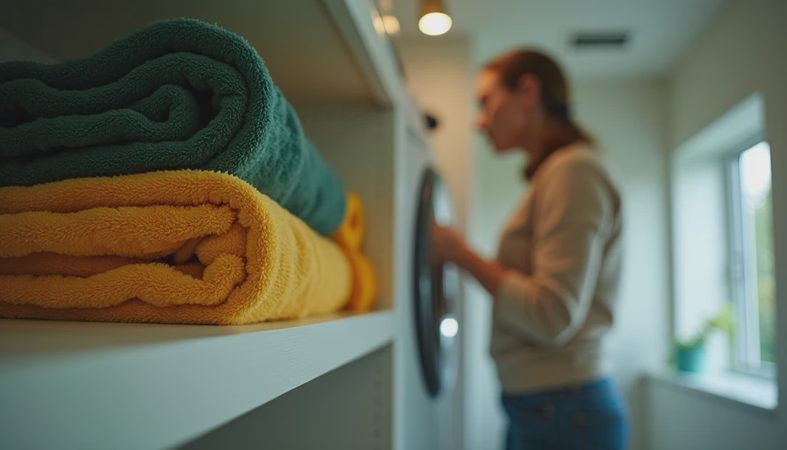
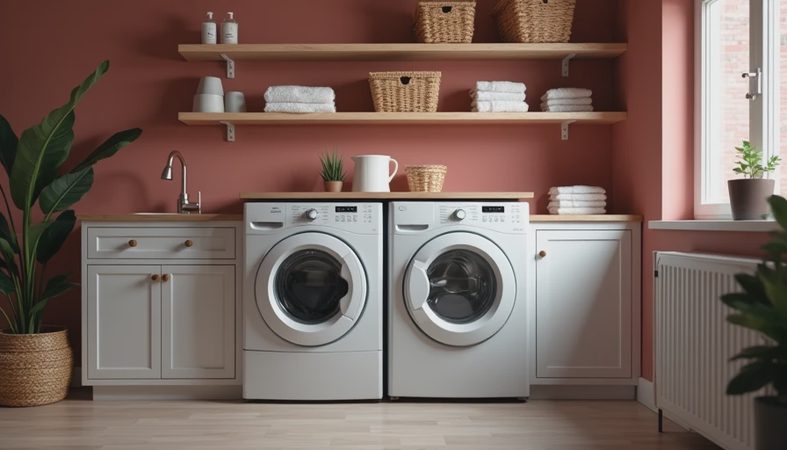
If you're planning laundry room renovations, I want you to picture the worst claim I ever worked. A family in Williamsville spent $9,000 on a beautiful laundry room. Six weeks later, a rubber supply hose blew at 2 AM and dumped 40 gallons of water into their finished basement. Total claim: $14,200. That damage was preventable with about $50 in parts. In my ten years as a property claims adjuster, laundry rooms caused more repeat water and fire claims than any other room in the house.
Maybe your laundry setup is a washer in a dark basement corner or a closet so small you have to climb over the dryer. You want something easier to use. Good laundry room renovations can give you that, but only if you build for safety first.
Start With Water, Because Water Always Finds a Way
The washing machine is the only appliance that fills itself with water and spins it at high speed. Treat water containment like the foundation of the project.
Place a washing machine pan under the unit. It costs $40 to $80 and catches the water when a hose fails. Replace rubber supply hoses with stainless steel braided ones. Rubber hoses fail at the crimp after a few years.
Stainless braided hoses cost $15 to $30 and last far longer. Add an auto-shutoff outlet box or a quarter-turn valve on both hot and cold lines. That lets you kill the water supply when the machine isn't in use, which is the easiest way to prevent a flood while you're away.
Plan the drain standpipe height at 36 to 42 inches and secure the drain hose so it can't vibrate loose. A loose drain hose caused more damage than a failed pump in several claims I handled. If your renovation budget allows, install a floor drain.
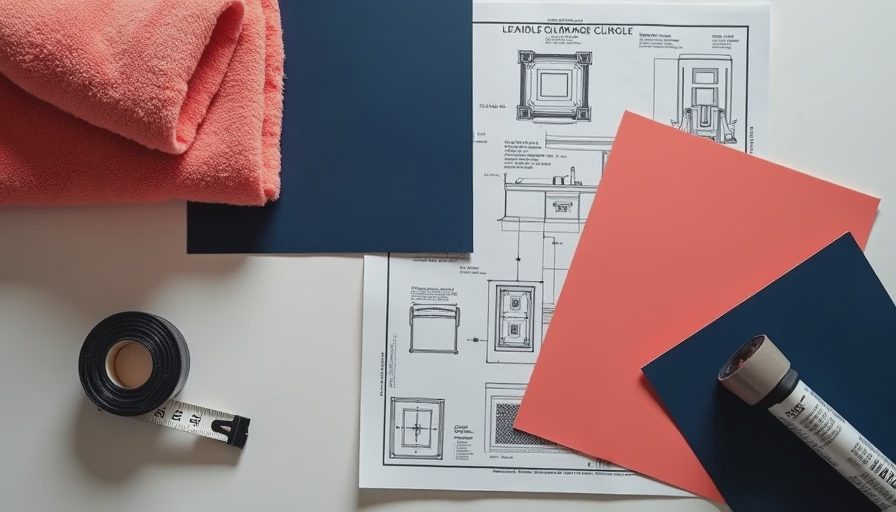
Don't Forget the Fire Side of the Room
Lint is highly flammable. When it builds up in the dryer vent, it restricts airflow and raises the temperature until the dryer can catch fire. I've seen claims where a dryer fire started in the lint trap and spread through the joists.
Keep the vent duct as short and straight as possible. Use rigid metal or flexible metal duct, not plastic ribbed duct. Plastic vent is against code in most places because it's a fire hazard. Avoid long runs with multiple bends. Every bend collects more lint.
Clean the lint screen every load, and disconnect the vent hose twice a year to vacuum out the line. A ten-minute job is cheaper than any repair. If you're finishing the room, use drywall rated for heat near the dryer and keep insulation away from the vent pipe.
Also, check the outdoor vent cover. A clogged or blocked dryer vent is a leading cause of dryer fires, and it's easy to overlook during a renovation.
Plan for the Room You Actually Use
A room you hate to be in is a room you'll never take care of. That's my rule for every renovation. If the layout makes you bend awkwardly, you'll start piling clothes on top of the dryer. Think about the flow: basket, washer, dryer, folding surface, clean pile. A countertop over the machines gives you a fold area and hides the machines.
Storage doesn't need custom cabinetry. Utility shelving, clear bins, and a tension rod for hangers turn an awkward corner into a usable station. Swap a single overhead bulb for LED strip lights under cabinets or a bright flush-mount fixture.
Ventilation matters too. A damp laundry room can grow mold, especially in a basement. An exhaust fan with a timer costs around $100 and pulls out humidity before mold starts.

What Laundry Room Renovations Cost and What They Return
You don't need a five-figure budget. A basic refresh with a utility sink, better lighting, a countertop, and upgraded hoses and pans can cost $1,200 to $3,500 if you do the demo and painting yourself. Hiring a contractor and moving plumbing or electrical pushes it to $5,000 to $9,000 for a small room.
To put that in perspective, the average water damage claim I handled from a washing machine failure was around $8,000; many exceeded $12,000. Spending a few hundred dollars on prevention is easy math.
Some laundry room renovations pay off in utility savings. Energy Star washers and dryers use less water and electricity, and faster spin times mean shorter drying. Over a decade, savings can top $1,000.
The Bottom Line Before You Tear Anything Out
Before picking tile or paint, set a safety budget. Write down three items: a washing machine pan, stainless steel hoses, and a proper dryer vent. If your renovation plan can't fit those, it's not ready. Then add comfort items like lighting and a folding surface.
Check your current room before you start. Look at the hoses, feel the air coming out of the dryer vent, and look for water stains behind the washer. That fifteen-minute inspection can save you from a claim.
An insurance adjuster shows up after the damage. My goal now is to help you avoid that phone call. Laundry room renovations can be a smart investment, but build a safe room first, not just a pretty one.