If you are trying to figure out how to renovate a laundry room, start with the boring parts: water, heat, and airflow. I spent a decade walking claims where the prettiest room in the house was also the one that soaked the subfloor or filled the joists with lint. In a Buffalo basement, that means thinking about hose failures, dryer vent runs, floor slope, and where a wet basket will actually land. A room you hate to be in is a room you'll never take care of, so the goal is not just pretty cabinets; it's a room that dries out fast, cleans up fast, and does not give you a $14,000 surprise.
Start with the hidden failures
When people ask how to renovate a laundry room, I tell them to solve the hidden failures first. The biggest ones are simple: old rubber washer hoses, loose drain connections, a dryer vent that runs too long or too crooked, and a floor that swells the first time a machine drips. If you only spend money on cabinets and paint, you are decorating a problem. Swap in braided stainless steel supply lines, install a proper shutoff valve within easy reach, and put the washer on a pan if the room sits over finished space or near a mechanical room.
The dryer deserves the same respect. Clean, straight venting moves lint out of the house instead of packing it behind the machine. Keep the run short, use rigid metal duct where possible, and do not crush it behind a wall of built-ins just to hide the hose. I have seen more than one cozy-looking laundry niche turn into a moisture and lint trap because the layout looked great on paper and failed in real life. If you want the room to age well, design for service access, not just for the photo.
Build the layout around the machines
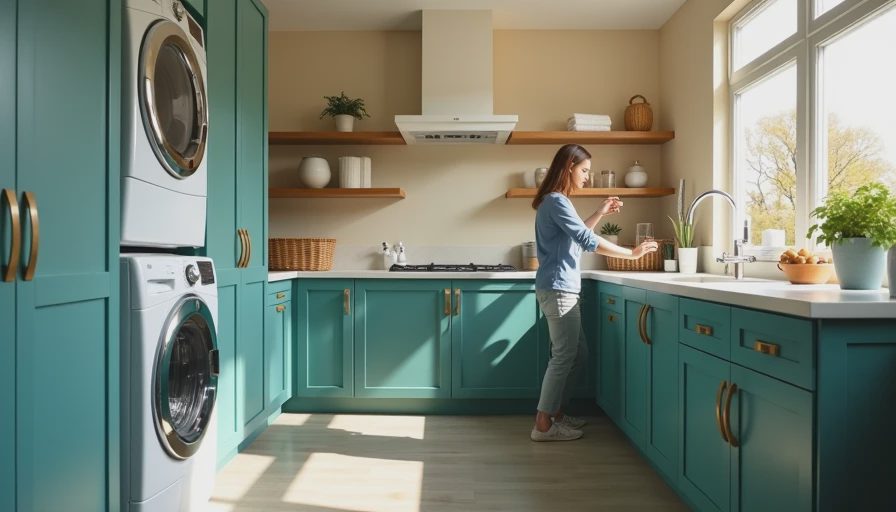
A good laundry room layout starts with clearances. You want enough space to open washer and dryer doors without hip-checking a cabinet every time you move a hamper. Side-by-side machines usually need about 6 inches of breathing room on each side for hookups and vibration, plus enough depth for hoses and venting. If you are stacking units, confirm the brand-approved stacking kit instead of improvising. Whirlpool, LG, GE, and Samsung all make units that look compact in a showroom and then demand a lot more depth once the cords and vent are installed.
Think about how the room actually gets used. If folding happens there, a countertop above front-load machines saves trips to the bedroom. If kids dump muddy sports gear there, add a deep utility sink and a bench or cubby wall near the door. If the room doubles as a mudroom, use a wipeable landing zone by the entrance so wet shoes do not march straight to the furnace. This is where how to renovate a laundry room stops being a style exercise and becomes a traffic-flow problem. The smartest rooms keep clean and dirty paths separate, even when the room is tiny.
Door swings matter too. A pocket door or out-swing door can free up precious inches in a narrow basement room. If the dryer vent needs an outside wall, put the dryer as close to that wall as you can. Every extra bend in the duct adds resistance, and every extra foot makes future lint cleaning a little more annoying. That is how small problems become expensive habits.
Choose materials that survive moisture, lint, and abuse
Flooring is where I would spend money first after the plumbing. Luxury vinyl plank, porcelain tile, or sealed concrete all handle laundry-room abuse better than cheap laminate or carpet tile. If you are in an older house and the slab is a little uneven, a good vinyl product can save you time and still give you a finish that wipes clean after a detergent spill. Tile is tougher, but it wants a flat subfloor and proper underlayment. If you are opening walls, use moisture-resistant drywall where it makes sense and ventilate the room so humid air does not sit behind the machines.
For cabinets, mid-priced plywood boxes with a washable finish beat particleboard every time the washer hiccups. Quartz is a nice upgrade for a folding counter because it shrugs off detergent drips and feels sturdier than basic laminate, but a plain laminate top is fine if the budget is tight. Paint the room a light color so you can actually see lint, leaks, and dust. LED lighting should be bright enough to inspect a hose clamp without needing your phone flashlight. In a laundry room, visibility is not decoration; it is early warning.
Ventilation deserves a mention because it gets ignored until mildew shows up. If you have a utility sink or a dryer that throws warm air into a tight space, add exhaust or improve the existing fan. A small fan with a proper duct can do more for odor and moisture than a stack of scented candles ever will. If the room has a basement window, use it for fresh air when the weather allows, but do not rely on opening a window as a permanent fix.

Put the money where damage happens
When I talk about how to renovate a laundry room, I try to push homeowners toward the parts that prevent claims, not just the parts that photograph well. A basic cosmetic refresh might run $1,500 to $3,500 if you are painting, changing hardware, replacing flooring in a small room, and adding shelves. A more complete remodel with cabinets, a countertop, better lighting, a sink, and plumbing or vent upgrades often lands in the $4,000 to $10,000 range. If you move plumbing or rebuild a basement room from scratch, the number climbs fast.
The best dollars usually go to the hose connections, floor, venting, and lighting. A drain pan, braided stainless hoses, a better shutoff valve, and a serviceable vent path cost far less than a water-damaged subfloor. If the room sits in a cold basement, insulate the supply lines and seal the rim joist area if it is leaky. In Buffalo, a cold corner can turn into a condensation problem long before anyone notices a stain. That is the kind of thing I used to see in claims photos after the fact, when it was already a repair job instead of a weekend fix.
Finish with a real-world walk-through
Before you call the job done, test the room like a skeptical adjuster. Run the washer through a cycle and watch every connection. Check the supply valves, the drain, the machine pan, and the floor around the pedestal or legs. Run the dryer and confirm the vent flap opens outside. Open the sink faucet hard enough to make a splash. Shut the lights off for a second and see whether the switches are where you can reach them with wet hands and a basket on your hip. If you cannot service the room without cursing, it is not finished.
That is the real trick in how to renovate a laundry room: make it easier to use than the old setup, but harder to damage than the old setup. A room that dries out quickly, sheds lint well, and gives you access to every hose and valve will pay you back every single week. And when you are standing there folding towels on a counter that does not wobble, you will be glad you spent money on the unseen parts. A room you hate to be in is a room you'll never take care of, and this is one room worth getting right.