I have stood in more than a few houses that smelled like hot lint and smoke. The fire itself was often small. The damage path was not. Dryer lint is highly combustible once it accumulates. The duct that is supposed to carry it outside is also the path that lets fire travel into the walls and joists if the routing is wrong.
The single most common design mistake I saw was the 90-degree elbow trap. Homeowners and installers both create them without realizing how quickly they turn a maintenance issue into a fire issue.
How Lint Actually Behaves in a Duct
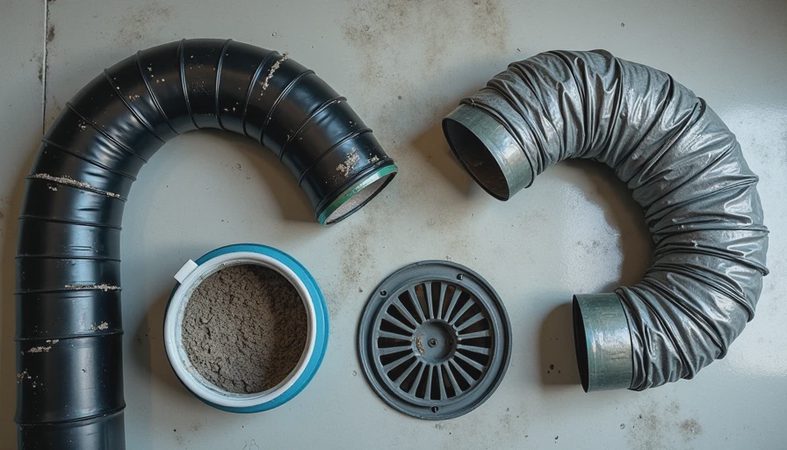
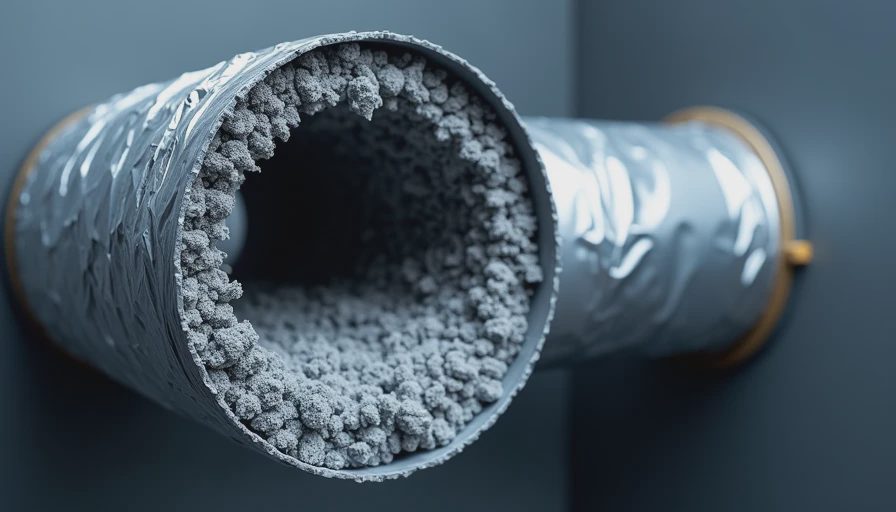
Lint does not flow like water. It rides the air stream and drops out whenever the air slows or changes direction sharply. Every hard 90-degree elbow is a speed bump. Lint piles up on the inside radius and at the downstream edge. Flexible foil ducts make it worse because the ridges create hundreds of small ledges.
Once the buildup is thick enough, two things happen. The dryer works harder and runs hotter. And any spark or overheated component has a ready fuel source sitting in the duct. I adjusted claims where the fire started in the elbow and traveled both directions—back toward the dryer and forward into the wall cavity.

The Routing Rules That Prevent the Trap
Keep the total run as short as possible. Under 15 feet is ideal. Under 25 feet is acceptable if the path is clean. Every extra foot adds resistance and collection points.
Prefer straight pipe. When you need a turn, use two 45-degree elbows instead of one 90 whenever the space allows. The air and the lint make the change more gradually and drop less material.
Use rigid or semi-rigid metal duct. Never the cheap foil accordion stuff. The smooth interior of rigid pipe gives lint fewer places to hang. Semi-rigid is the practical compromise when you need a little flex for final connection.
Support the duct so it does not sag. A sag is another low point where lint and moisture collect.
Terminate outside with a proper hood that has a damper. Screened covers that look “bug-proof” clog with lint in a single season and become another fire hazard.
The Closet and Stacked-Machine Problem
Stacked units and tight closets almost guarantee at least one tight 90-degree turn at the top of the dryer. That turn sits right where heat is highest and cleaning is hardest. I saw a disproportionate number of lint fires in closet laundry setups for exactly this reason.
If you must stack, make the horizontal run after the elbow as short as possible and use a clean-out if the design allows. Better yet, choose side-by-side when the space permits so the vent can leave the dryer and go straight to the exterior with minimal turns.
What Cleaning Actually Requires
Cleaning the lint trap after every load is necessary and nowhere near sufficient. The trap only catches the large debris. The fine particles travel into the duct. At least once a year the entire run needs to be cleaned—from the dryer outlet to the exterior hood. If the duct is long or full of elbows, that job is harder and more likely to be skipped.
I recommend a rigid or semi-rigid installation partly because it is easier to clean thoroughly. Flexible foil is difficult to clean without damaging it, which is why so many people never bother.
Real Claim Examples That Stuck With Me
One fire started in a 90-degree elbow buried in a wall chase. The homeowner had never cleaned beyond the lint trap. The fire traveled six feet into the ceiling before it was noticed. Another involved a crushed flexible duct behind a stacked unit; the dryer had been overheating for months. Both claims exceeded $20,000 by the time structural drying and reconstruction were finished.
Neither required exotic conditions. Both required only ordinary lint and a duct layout that invited accumulation.
What I Required in Our Own Renovation
Short rigid run. Two 45-degree elbows instead of a single 90. Exterior termination with a clean damper hood. Easy access for annual cleaning. No foil. No hidden sags. The dryer now empties a full load of towels in one cycle the way it should. The exterior hood stays clear. I still check it every fall, but the layout no longer works against me.
The Simple Test You Can Do Today
Run the dryer on a timed cycle with a full load of damp towels. Walk outside to the termination. If the air coming out is weak or the hood is already fuzzy with lint, the duct is restricted. If the dryer itself is unusually hot or the cycle takes far longer than it used to, the duct is restricted. Either result means the routing or the cleaning has already failed.
Fix the layout if you can. Clean the existing run thoroughly if you cannot. Replace foil with rigid or semi-rigid at the first opportunity. The fire risk is not theoretical. It is one of the most consistent patterns in the laundry-related claims I handled.
A room you hate to be in is a room you’ll never take care of. A dryer duct that is hard to clean and full of elbows is one of the fastest ways to guarantee the room—and the walls around it—become a problem you cannot ignore.